
Getting ready for a kitchen remodel can feel overwhelming. Between choosing finishes, coordinating contractors, and managing day-to-day life, it’s easy to forget about one vital element: preparing your existing space for the transformation ahead.
Smart packing and preparation can make the difference between a smooth renovation and a stressful scramble. When you know exactly what to do and when to do it, you’ll protect your belongings, keep your family fed, and help contractors work more efficiently.
This kitchen remodel timeline will guide you through the essential steps, from your first planning session to the day construction begins. By following this week-by-week kitchen remodel checklist, you’ll enter your renovation feeling organized, confident, and ready to watch your dream kitchen come to life.
4 Weeks Before Remodel: Plan & Declutter

Your kitchen remodel preparation begins with two fundamental tasks: organizing your paperwork and decluttering your space.
Start by creating a dedicated remodel folder, either physical or digital, to store all your important documents. This should include contractor quotes, signed contracts, design plans, permit information, and any warranty documentation. Having everything in one place will save you time and stress when you need to reference details during the renovation.
Next, tackle the decluttering process. Open every cabinet and drawer to assess what you actually use versus what’s taking up valuable space. This is the perfect time to toss expired food, donate duplicate utensils, and discard items you haven’t touched in years. Be ruthless—moving fewer items means less work later.
As you sort through your belongings, start separating items into two categories: daily essentials and long-term storage. Daily essentials are items you’ll need access to during the remodel, while everything else can be packed away until your new kitchen is complete.
| Pro tip: Label boxes by category (such as “baking tools” or “everyday dishes”) rather than just “kitchen stuff.” This simple step will make unpacking much easier and help you find specific items during the renovation.
3 Weeks Before Remodel: Organize Storage
With your decluttering complete, it’s time to plan where everything will go during your kitchen remodel. Decide on storage locations for your packed items—whether that’s the attic, basement, spare room, or storage bins in the garage.
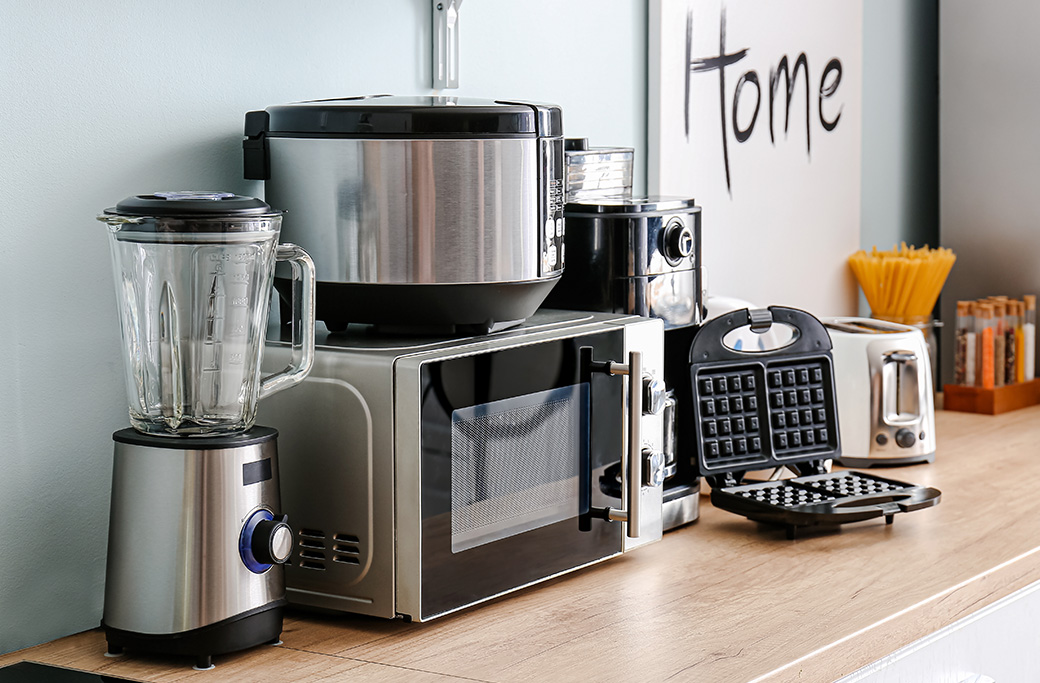
Now comes the fun part: setting up your temporary kitchen. Choose a location that’s convenient but out of the way of construction traffic. A dining room, finished basement, or large pantry can work well. Stock this space with essential appliances like a toaster oven, microwave, coffee maker, and basic cooking utensils.
Don’t forget about workspace. A folding table or sideboard can serve as a makeshift prep area. Add a small cooler or mini-fridge if possible, and stock up on paper goods to minimize dishwashing.
Pay special attention to protecting your valuables during this stage. Wrap heirloom dishes, delicate glassware, and other fragile items in bubble wrap or packing paper. Store these items in a secure location away from the construction zone. Consider taking photos of valuable pieces for insurance purposes.
2 Weeks Before Remodel: Start Packing

Two weeks before your kitchen remodel begins, it’s time to start serious packing. Focus on non-essential items first—special occasion cookware, extra mixing bowls, wine glasses, and serving pieces that you won’t need during the renovation.
Use a clear labeling system for every box. Include both the contents and the destination (storage area, temporary kitchen, or specific room). This prevents the frustration of hunting through boxes when you need something specific.
Your pantry deserves special attention during this phase. Start using up perishable items and avoid buying large quantities of food. Consider donating unopened, non-expired items to local food banks rather than trying to store them. This reduces waste and helps your community.
| Packing tip: Pack a “first day” box with items you’ll need immediately after construction ends—cleaning supplies, basic dishes, and frequently used utensils. Label this box clearly and store it where you can easily access it.
1 Week Before Remodel: Final Prep

The final week before your kitchen remodel is all about completing the packing process and preparing your home for contractors. Finish packing all remaining cabinet and drawer contents, leaving only the items you’ll need for the next few days.
Empty and clean out your refrigerator, especially if it will be moved or unplugged during construction. Use up remaining perishables or donate them to avoid waste. If your refrigerator is staying in place, consider covering it with plastic to protect it from dust and debris.
Remove all wall-mounted items from the kitchen area. This includes artwork, shelves, decorative items, and anything else that could be damaged during construction. Store these items safely away from the work zone.
Clear pathways throughout your home to ensure contractors can easily access the kitchen with their tools and materials. This might mean temporarily moving furniture or storing items in other rooms.
Day Before Remodel: Final Walkthrough
The day before your kitchen remodel begins, conduct a thorough final walkthrough. Double-check that all items are packed and labeled correctly, and that all surfaces are cleared and ready for work.
Verify that your temporary kitchen is fully stocked and functional. Test all appliances and ensure you have everything needed to prepare simple meals during the renovation.
If you have pets or small children, finalize arrangements for their care during work hours. Construction can be noisy, messy, and potentially dangerous, so having a plan keeps everyone safe and allows contractors to work efficiently.
| Before photo tip: Take detailed “before” photos of your kitchen from multiple angles. These shots will be fun to compare with your finished space and can be helpful for insurance purposes or if any issues arise during construction.
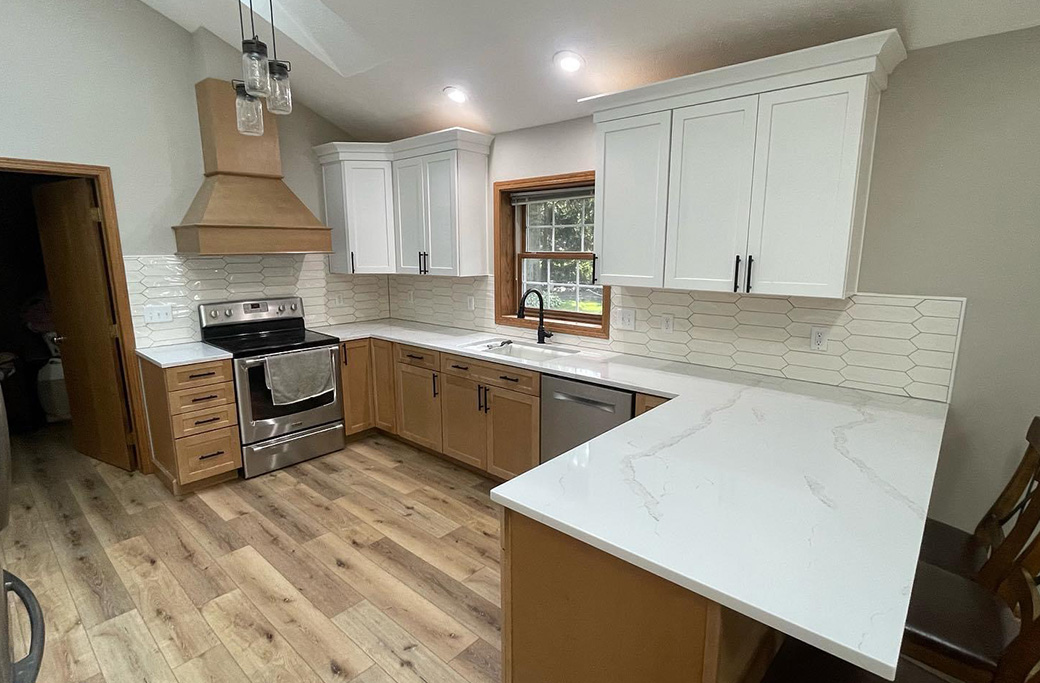
Why Choose Riverbend Kitchen Design & Cabinets for Your Quad Cities Kitchen Remodel
A successful kitchen remodel depends on more than just good preparation—it requires working with experienced professionals who understand the local market and can guide you through every step of the process.
Riverbend Kitchen Design & Cabinets has been serving the Quad Cities and surrounding communities with exceptional kitchen design services. Our team combines creative design expertise with precise execution, ensuring your project stays on schedule and within budget.
What sets us apart is our commitment to a stress-free remodeling experience. From initial design consultation through final installation, we handle every detail so you can focus on the excitement of your new kitchen rather than the stress of managing contractors.
Our hands-on approach means we’re with you from planning through completion, offering guidance on everything from cabinet selection to the preparation process outlined in this timeline. We understand that kitchen remodeling preparation can feel overwhelming, which is why we provide clear communication and support every step of the way.
Kitchen Remodel Timeline: Your Complete Packing & Prep Guide
Following this kitchen remodel timeline will help ensure your renovation begins smoothly and progresses without unnecessary delays. Remember, good preparation is an investment in your peace of mind and the success of your project.
The key to a successful kitchen remodel lies in planning ahead, staying organized, and working with professionals who prioritize your satisfaction. When you combine thorough preparation with expert guidance, you’ll be amazed at how smoothly your renovation can progress.
Ready to start planning your kitchen remodel the right way? Schedule your free design consultation with Riverbend Kitchen Design & Cabinets today. Our team will help you create a personalized timeline for your project and ensure you’re fully prepared for the transformation ahead.
Related Posts
